It’s simple to set up your Rockspace WiFi extender setup. The extender must first be connected into a power connection close to your router. Watch for the power LED to solidify, signifying the setup is now feasible. After that, link your PC or phone to the “Rockspace_EXT” WiFi network. In the address container of an open web browser, enter Complete the setup by choosing your current WiFi connection and entering the password by following the on-screen directions
Rockspace wifi extender instruction guide
- Plug the Rockspace extender for WiFi to a power supply that is nearby your router.
- Wait for the extender’s power LED to go solid.
- Connect to the Rockspace WiFi network using your device of choice (the network name should be something like “Rockspace_EXT”).
- In the address package of an open web browser enter and hit Enter.
- To set up the extender, pick your current WiFi network and enter the password according to the on-screen instructions.
- The extender will restart and automatically establish a link to your WiFi network once setup is complete.
- confirm that the extender is in range of your router then move it to a place where you need better WiFi coverage.
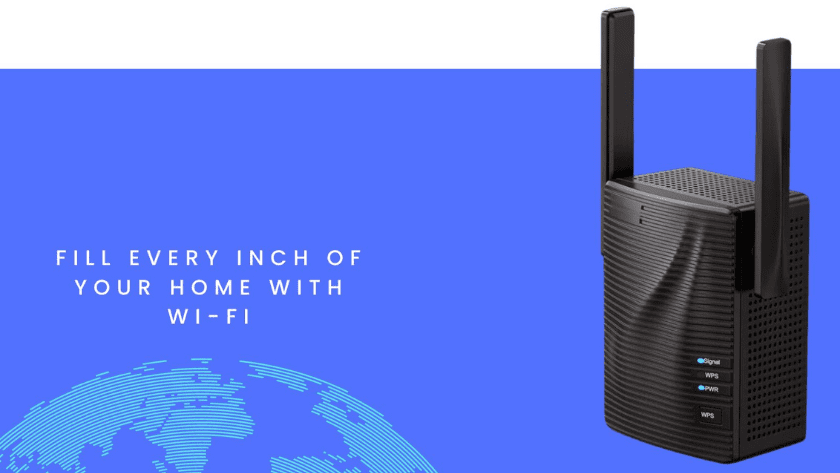
Useful features of rockspace wifi extender setup
- The Smart Signal Indicator on the Rockspace WiFi extender setup is a useful function that aids in choosing the most optimal place for the extender.
- discover the best signal strength, just move the extender to different areas and use the indication lights.
- ensuring a robust and reliable WiFi service across your house or place of company.
Rockspace extender setup via manually method
- As the power LED on the extender turns solid, plug it into a nearby power outlet to connect with your router.
- Join the Rockspace WiFi network (SSID) using your computer or mobile device through the WiFi settings on your device.
- In the address bar of an open web browser, enter ” and press Enter.
- A request requesting your username and password will appear. serves as both the default username and password.
- After signing in, choose the present WiFi network and input the password as directed by the on-screen instructions to configure the extender.
- The extender will restart and automatically build a link to your WiFi network after the configuration is complete.
- Insert the extender where you need further WiFi coverage, making sure it’s inside.
NOTE : If you need any help regarding your wavelink wifi range extender so get in touch with the technician or visit the official web site that is ap.setup
Guides for installing the rockspace wifi setup via wps method
- Once the power LED on the extender turns solid, plug it into a nearby power outlet to connect it with your router.
- Click and pull the WPS button on your router.
- Press the Rockspace extender’s WPS button after two minutes.
- When the extender connects to your router, its WPS LED should blink.
- The extender and router are successfully connected once the WPS LED glows solid.
- confirm that the extender is within range of your router or move it to a place where you need better WiFi coverage.
Login method for rockspace wifi extender setup
- Join the WiFi network that the Rockspace extender emits using your PC or mobile device (the SSID should be “Rockspace_EXT”).
- Open a web browser, enter the address box, then hit Enter.
- A message asking your username and password will appear. “Admin” acts as both the default username and password.
- You can edit options and manage your extender on the setup page for the Rockspace extender after checking in with the correct credentials.
Update the guide for rockspace wifi extender setup firmware
- Joining the WiFi network that the Rockspace extender transmits using your desktop or smartphone (the SSID should be “Rockspace_EXT”).
- Press Enter when open a web browser and entering
- Use your login and password to access the extender’s settings page (the default passwords are “admin” and “admin”).
- In the settings menu, look for the “Update” or “Firmware Update” option.
- The latest version of firmware can be downloaded and set up by clicking the “Update” button and following the on-screen directions.
- Wait off till the firmware update is complete. During this process, the extender might restart itself.
- Your Rockspace extender will be running the most recent firmware while the update is done.
How to reset rockspace wifi extender ?
- Click the Rockspace extender’s reset button. Often, it’s a tiny hole with the phrase “Reset” on it.
- Press and hold the reset button for about ten seconds while putting a paperclip or other similar device into the reset hole.
- When the extender’s LED lights start to slowly blink, release the reset button.
- await the reboot and factory reset of the extender. It can take a few minutes to complete this.
- You can set the extender using the factory default settings after it has reset.