The Rockspace WiFi extender setup is a straightforward process. Begin by plugging the extender into a power outlet within the range of your existing WiFi network. Once powered on, connect your computer or mobile device to the Rockspace_ext network using the default password provided in the user manual.Follow the on-screen instructions to log in (use the default username and password from the manual), select your existing WiFi network, and enter its password. Complete the setup process by following any additional prompts. Once configured, the Rockspace extender will amplify your WiFi signal, providing extended coverage for a more robust wireless connection.
How do manual set up of Rockspace Wifi setup?
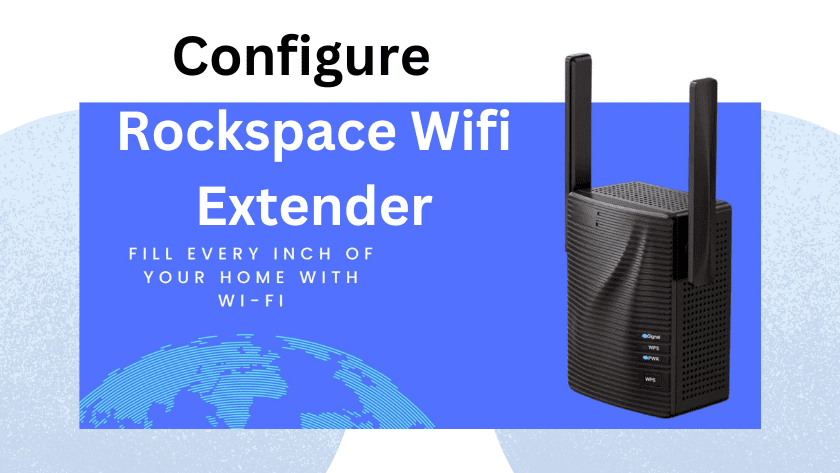
- Start by plugging the Rockspace WiFi extender into a power outlet. Ensure that it is placed within the effective range of your existing WiFi network.
- Use a computer or mobile device to connect to the WiFi signal broadcast by the Rockspace extender. Look for a network named “Rockspace_ext” and connect to it. The default password should be available in the user manual.
- Open a web browser on your connected device and enter the following address in the URL bar: “http://ap.setup” or use the default IP address (commonly 192.168.0.254). Press Enter.
- You will be prompted to log in. Refer to the user manual for the default username and password. Enter these credentials to access the extender’s configuration settings.
- Follow the on-screen instructions to configure the Rockspace extender. This typically involves selecting your existing WiFi network from a list and entering its password. You may also set up a new SSID and password for the extended network if desired.
- Once you have entered the necessary information, proceed to complete the setup process. Follow any additional prompts or settings as needed.
- After the extender has been configured, your device may disconnect from the Rockspace_ext network. Reconnect your device to the newly extended WiFi network using the SSID and password you configured during the setup.
NOTE : If you need any help regarding your wavelink wifi range extender so get in touch with the technician or visit the official web site that is victony wifi setup
How do I use the wps method for Rockspace Wifi setup?
- Plug your Rockspace WiFi extender into a power outlet and wait for it to power on.
- Find the WPS button on your Rockspace extender. It’s usually located on the side or back of the device.
- Press and hold the WPS button on the Rockspace extender for a few seconds until the WPS LED starts blinking.
- Within 2 minutes of pressing the WPS button on the extender, go to your WiFi router and press its WPS button. If your router doesn’t have a physical button, check its settings to enable WPS.
- Allow some time for the Rockspace extender and your router to establish a secure connection. The WPS LED on the extender should become solid, indicating a successful connection.
- Once the connection is established, your Rockspace extender is ready. Devices can now connect to the extended WiFi network automatically.
Rockspace Wifi extender in firmware update?
- Updating the firmware on your Rockspace WiFi extender is important for performance and security enhancements.
- To update, visit the Rockspace official website, locate the firmware updates section, and download the latest firmware version compatible with your extender model.
- l. Access the extender’s settings through a web browser using the provided IP address.
- Log in, find the firmware update option, and upload the downloaded file. Follow the on-screen instructions to complete the update.
- Keeping your Rackspace extender’s firmware up-to-date ensures optimal functionality and addresses potential issues.
What is the login method of Rockspace Wifi?
- Connect your computer or mobile device to the WiFi network broadcast by the Rockspace extender. This network is often named something like “Rockspace_ext.”
- Open a web browser on the connected device.
- In the address bar of the web browser, enter the IP address assigned to the Rockspace extender or a specific web address, which is often “http://ap.setup.” You can find this information in the Rockspace extender’s user manual.
- You will be prompted to enter login credentials. Refer to the user manual for the default username and password. Common defaults include “admin” for both the username and password, but it’s important to check your specific model’s documentation.
- Once logged in, you’ll have access to the configuration interface of the Rockspace extender. From there, you can set up or modify various settings, including WiFi network details and security options.
How do I reset the wifi extension on my Rock Space?
- Find the reset button on your Rockspace WiFi extender. This button is often a small, recessed button on the device.
- Using a paperclip or a small tool, press and hold the reset button for about 10-15 seconds. Be sure to hold it until you see the lights on the extender flash or change, indicating the reset process is underway.
- After releasing the reset button, wait for the extender to complete the reset process. This may take a minute or two.
- Once the reset is complete, the Rockspace extender will return to its default settings. Reconnect your computer or mobile device to the default WiFi network broadcast by the extender. You may need to use the default WiFi network name (SSID) and password provided in the user manual.
- Open a web browser and enter the IP address or web address provided in the user manual (e.g., “http://ap.setup”) to access the extender’s configuration interface. You may need to use default login credentials, which can also be found in the user manual
- Follow the setup instructions in the user manual to reconfigure the Rockspace extender according to your preferences. This may include connecting to your existing WiFi network and setting up security options.